I mostly followed/was inspired by this tutorial but with some tweak/fix to recent(Sep 2019) software versions. Also this is a pure Linux walk-through as I don’t use a Mac.
I planned to build a home Kubernetes(k8s) cluster and migrate home servers including the one this blog is running on to the k8s cluster, for a long time. But the Raspberry Pi 2 has 1GB of memory and is not quite appealing for any practical purpose. (I know, I know, we used to run a computer with mega bytes of memory…) When Raspberry Pi 4 with 4GB of memory is available, I believed I need to wait no more.
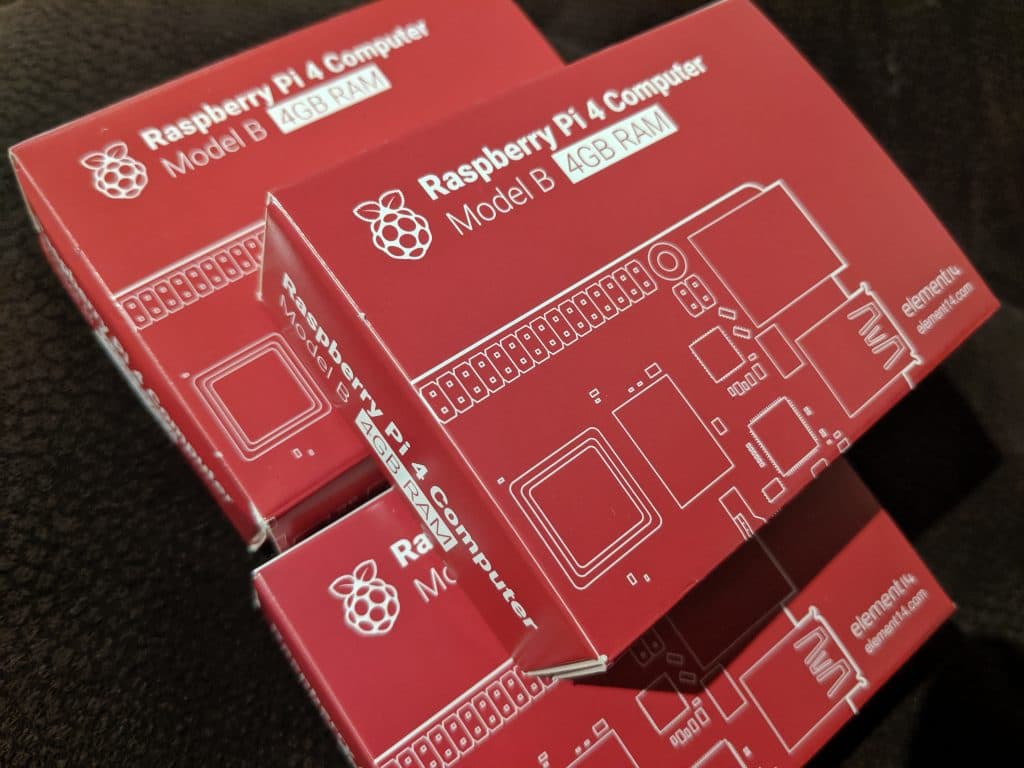
The 3 Pi 4s I got are from eBay, surprisingly this time the offer in eBay was better than Amazon! I didn’t think I need the cases for the Pis, because I heard the Pi 4 is more powerful and can get hot comparing to previous ones.
I chose Raspbian for now, as it supports all devices in the Pi 4. Ubuntu Server could be a better choice but it only support up to Pi 3. And as a command line veteran I use this line to flash the MicroSD cards:
# if you copy and paste you may need to verify the file name and the card reader device in your computer, ie. I'm not responsible for anything :)
$ unzip -p 2019-07-10-raspbian-buster-lite.zip |sudo dd bs=4M of=/dev/mmcblk0
To enable SSH access at first boot, create an empty file called ssh in /boot partition:
# once again, this path could be different on your system.
$ sudo touch /run/media/raynix/boot/ssh
After this, use the sync command to make sure everything has been written to the card. Then you can pull the MicroSD card out of your card reader slot and put it into the Pi 4.
Something required before powering up the Pi 4:
- Pi 4 connected to the router/switch with Ethernet cable
- 5V power supply with USB-C connector
- DHCP enabled in LAN
After the Pi 4 is powered up, the green LED should flash a bit before you can see raspberrypi.localdomain online( the localdomain part is usually the default for some routers, but can be something else depending on your router setup). Then you should be able to:
# default user is pi, and password is raspberry
$ ssh pi@raspberrypi.localdomain
$ cat <<EOF |sudo tee -a /etc/dhcpcd.conf
interface eth0
static ip_address=192.168.1.200/24
static routers=192.168.1.1
static domain_name_servers=192.168.1.1
EOF
This will set the Pi 4 to a static IP address after reboot. Repeat this step for each Pi 4 but obviously they should have different IPs, eg. master has 192.168.1.200 and node1 has 192.168.1.201, etc.
TBC.

4 responses to “Kubernetes at Home on Raspberry Pi 4, Part 1”
[…] Continue from part 1 […]
[…] been more than a year since I built my Kubernetes cluster with some Raspberry PIs. There was a few times that I need to power down everything to let electricians do their work and […]
[…] in my playbook so the installed docker and kubeadm are vastly newer than the ones in my existing Raspberry PI cluster so there will be some compatibility issues if I don’t match them. I used the following […]
[…] I built the in-house Kubernetes cluster with Raspberry PIs, I followed the kubeadm instructions and installed Raspberry PI OS on the PIs. It was all good […]